
Step 1

Step 2
You need to decide how much of the bib you will want on the back of the head and then fold it that much.

Step 3
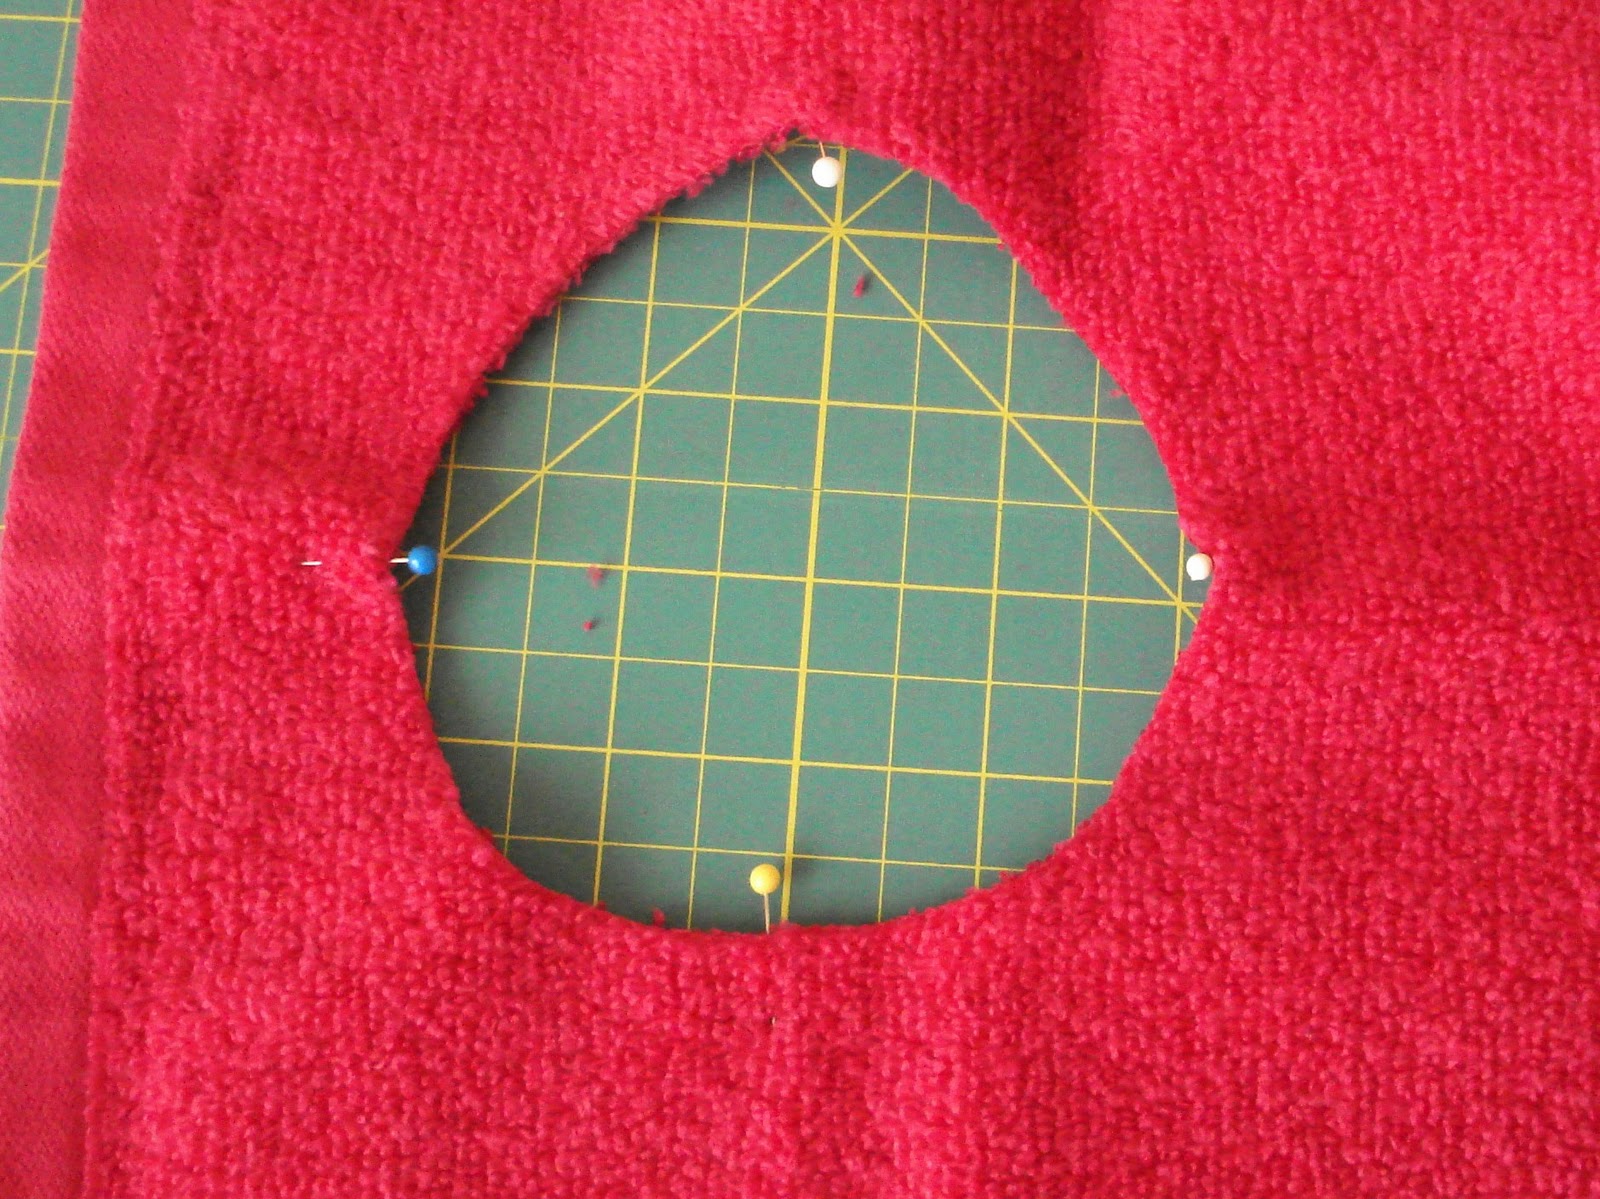
Before this step you need to decide how big your neck hole is going to be. I have mine drawn out on parchment paper. You only need to draw half of it and then place it on the fold and pin in place.

Step 4
Once you have it pinned in place. Cut the hole out.

Step 5
Now you need to mark it evenly into fourths. If you mark it while it is already folded and then match those pins in the opposite direction and mark the other sides it works really well and quickly.
Steps 6 & 7

Then you need to measure out the knit. It needs to be 3/4 of the measurement plus 1 inch. If you measure from one pin around to the last pin, leaving a gap between the last pin and the first it works really well.
Then you need to fold the knit in half and serge the end closed.

Steps 8 & 9

Know you open up the knit and fold the edges up together. Then you need to also pin it into fourths. The serged edge can count as 1 of the fourths. Then you match the pins up on the knit necking to the pins already marked on the towel.

Steps 10 & 11

Now you serge around the neck edge. Make sure you stretch the towel to match the knit. Keep all the edges nicely lined up. When you get to the start - keep stitching for about an inch. Then stitch until you get a tail so you can finish off the threads.

Your finished and it looks great.

Now that you have finished serging just check the top side to make sure that you don't have any bunches and that you haven't missed any parts of it while serging. When you iron it just don't iron the folded edge of the knit and it will look really good. Now you can embellish or leave as is.
Some other options

Something else I like to do is buy the bigger towels and cut them in half. Then you can fold and sew the cut edges and make two of the toddler pull over bibs out of one towel.

I hope that you have enjoyed the tutorial. Like I said, I do sell them at my store for your convenience. If you have questions please feel free to contact me. The bib seen in the tutorial is a baby pullover bib and will be available Monday in my store so come check it out.
7 comments:
very good! but I still think I will let you make mine...
I am happy to make them.
Pull over bibs tutorial is really wonderful and i knew the simple things about the making of baby bibs. The information shared by you is awesome and thanks for that.
personalised bibs
No problem. Thanks for stopping by and leaving a comment.
Where did you get the stretch edge for nevk
I love that this tutorial breaks down each step so clearly.
How big is your hole you cut?
Post a Comment